【AWS Lambda】カスタムランタイム(コンテナ)でsnowsqlをインストール
2026.03.11
- AWS
- Snowflake
- クラウド
はじめに
AWS Lambdaのベースイメージは非常に軽量で、最低限のツールしか含まれていません。そのため、SnowSQLのような外部ツールを利用したい場合は、自分で環境を構築する必要があります。
今回はコンテナイメージ形式のカスタムランタイムを使用して、Lambda上でSnowSQLを実行する環境を構築する手順をまとめます。
1.ファイル準備
AWS公式のチュートリアルを参考に、以下の3つのファイルを作成します。
・bootstrap(ランタイムの初期化用ファイル) ※公式のものをそのまま使用します。
・function.sh(実際の処理) 動作確認のため、snowsqlのバージョンを出力する処理を追加します。
・snowsql.conf snowsqlコンフィグファイル
bootstrap
#!/bin/sh
set -euo pipefail
# Initialization - load function handlersource /var/runtime/"$(echo $_HANDLER | cut -d. -f1).sh"
# Processingwhile truedoHEADERS="$(mktemp)"# Get an event. The HTTP request will block until one is receivedEVENT_DATA=$(curl -sS -LD "$HEADERS" "http://${AWS_LAMBDA_RUNTIME_API}/2018-06-01/runtime/invocation/next")
# Extract request ID by scraping response headers received aboveREQUEST_ID=$(grep -Fi Lambda-Runtime-Aws-Request-Id "$HEADERS" | tr -d '[:space:]' | cut -d: -f2)
# Run the handler function from the scriptRESPONSE=$($(echo "$_HANDLER" | cut -d. -f2) "$EVENT_DATA")
# Send the responsecurl "http://${AWS_LAMBDA_RUNTIME_API}/2018-06-01/runtime/invocation/$REQUEST_ID/response" -d "$RESPONSE"done
function.sh
AWSの仕様によりlambdaではtmp以外のディレクトリではファイルの書き込みは許可されていません。しかし、snowsqlではコマンドの初回実行時にホームディレクトリにコンフィグファイルを作成する挙動があります。このままでは権限エラーが発生してしまうので後述の
snowsql.conf をオプションで指定します。これによりホームディレクトリのファイル生成を防ぎます。function handler () {EVENT_DATA=$1echo "$EVENT_DATA" 1>&2;# SnowSQLのバージョン確認# --config で事前に用意した設定ファイルを指定し、書き込みエラーを防ぎますVERSION="$(snowsql --config /etc/snowsql.conf -v)"echo "SnowSQL Version: $VERSION" 1>&2
RESPONSE="{\"status\": \"success\", \"version\": \"$VERSION\"}"echo $RESPONSE}
snowsql.conf
事前に作成するコンフィグファイルです。ログ出力先もtmpにしておきます。
今回はsnowflakeに接続しないので接続情報は記載しません。
[connections]# WARNING WARNING WARNING WARNING WARNING WARNING## The Snowflake user password is stored in plain text in this file.# Pay special attention to the management of this file.# Thank you.## WARNING WARNING WARNING WARNING WARNING WARNING
#If a connection doesn't specify a value, it will default to these##accountname = defaultaccount#region = defaultregion#username = defaultuser#password = defaultpassword#dbname = defaultdbname#schemaname = defaultschema#warehousename = defaultwarehouse#rolename = defaultrolename#proxy_host = defaultproxyhost#proxy_port = defaultproxyport
[connections.example]#Can be used in SnowSql as #connect example
accountname =username =password =
[variables]# SnowSQL defines the variables in this section on startup.# You can use these variables in SQL statements. For details, see# httpsdocs.snowflake.comenuser-guidesnowsql-use.html#using-variables
# example_variable=27
[options]# If set to false auto-completion will not occur interactive mode.auto_completion = True
# main log file location. The file includes the log from SnowSQL main# executable.#tmpディレクトリに出力log_file = /tmp
# bootstrap log file location. The file includes the log from SnowSQL bootstrap# executable.# log_bootstrap_file = ~.snowsqllog_bootstrap
# Default log level. Possible values CRITICAL, ERROR, WARNING, INFO# and DEBUG.log_level = INFO
# Timing of sql statements and table rendering.timing = True
# Table format. Possible values psql, plain, simple, grid, fancy_grid, pipe,# orgtbl, rst, mediawiki, html, latex, latex_booktabs, tsv.# Recommended psql, fancy_grid and grid.output_format = psql
# Keybindings Possible values emacs, vi.# Emacs mode Ctrl-A is home, Ctrl-E is end. All emacs keybindings are available in the REPL.# When Vi mode is enabled you can use modal editing features offered by Vi in the REPL.key_bindings = emacs
# OCSP Fail Open Mode.# The only OCSP scenario which will lead to connection failure would be OCSP response with a# revoked status. Any other errors or in the OCSP module will not raise an error.# ocsp_fail_open = True
# Enable temporary credential file for Linux users# For Linux users, since there are no OS-key-store, an unsecure temporary credential for SSO can be enabled by this option. The default value for this option is False.# client_store_temporary_credential = True
# Select statement split method (default is to use the sql_split method in snowsql, which does not support 'sql_delimiter')# sql_split = snowflake.connector.util_text # to use connector's statement_split which has legacy support to 'sql_delimiter'.
# Force the result data to be decoded in utf-8. By default the value is set to false for compatibility with legacy data. It is recommended to set the value to true.# json_result_force_utf8_decoding = False
2.Dockerfile作成
snowsqlをカスタムランタイムで動かすための Dockerfile を作成します。snowsqlのインストールする工程もここで組み込みます。
# 1. ベースイメージの指定FROM public.ecr.aws/lambda/provided:latest
# 2. snowsqlのインストールRUN dnf install -y wgetRUN wget https://sfc-repo.snowflakecomputing.com/snowsql/bootstrap/1.4/linux_x86_64/snowflake-snowsql-1.4.4-1.x86_64.rpm \&& rpm -i ./snowflake-snowsql-1.4.4-1.x86_64.rpm \&& rm ./snowflake-snowsql-1.4.4-1.x86_64.rpm
# 3. ファイルの配置COPY bootstrap function.sh /var/runtime/COPY snowsql.conf /etc/
# 4. 実行権限の付与RUN chmod +x /var/runtime/bootstrap /var/runtime/function.sh
# 5. エントリポイントの設定CMD [ "function.handler" ]
3.ECRへイメージをプッシュ
cloudshellの適用なディレクトリに準備したファイルをアップロードします。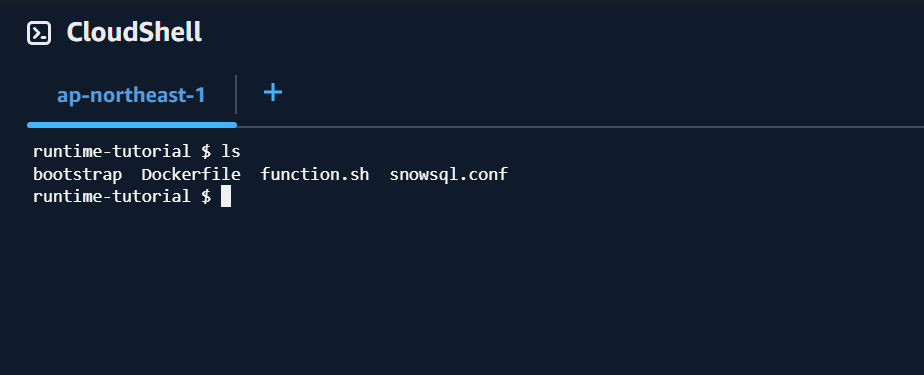
リポジトリの「プッシュコマンドの表示」からイメージプッシュまでのコマンドが表示されるため、その通りに実行する。
4.Lambda関数作成
Lambdaコンソールから「関数の作成」を選択。
「コンテナイメージ」を選択し、先ほどプッシュしたイメージを指定します。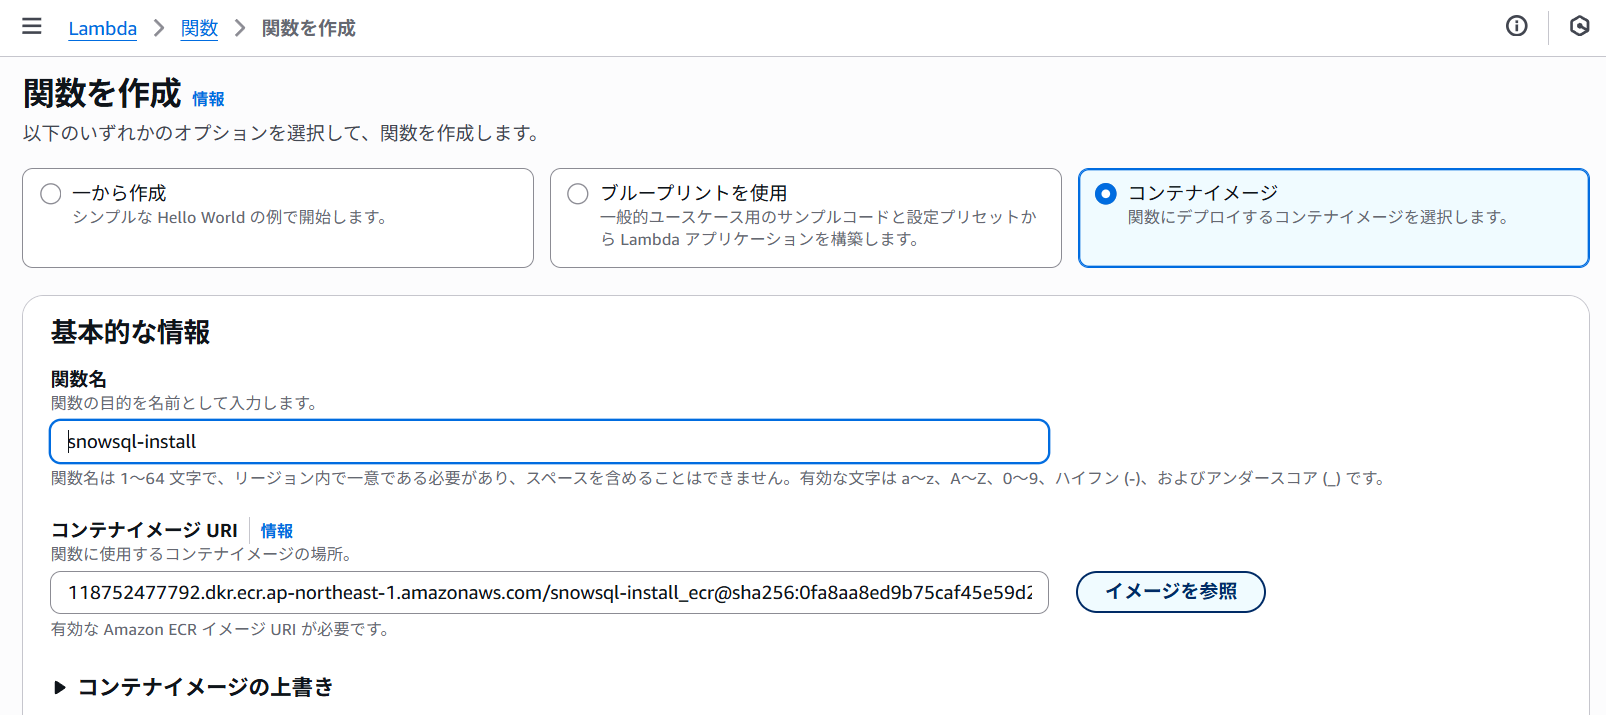
Lambda関数を作成できたので動作確認をします。
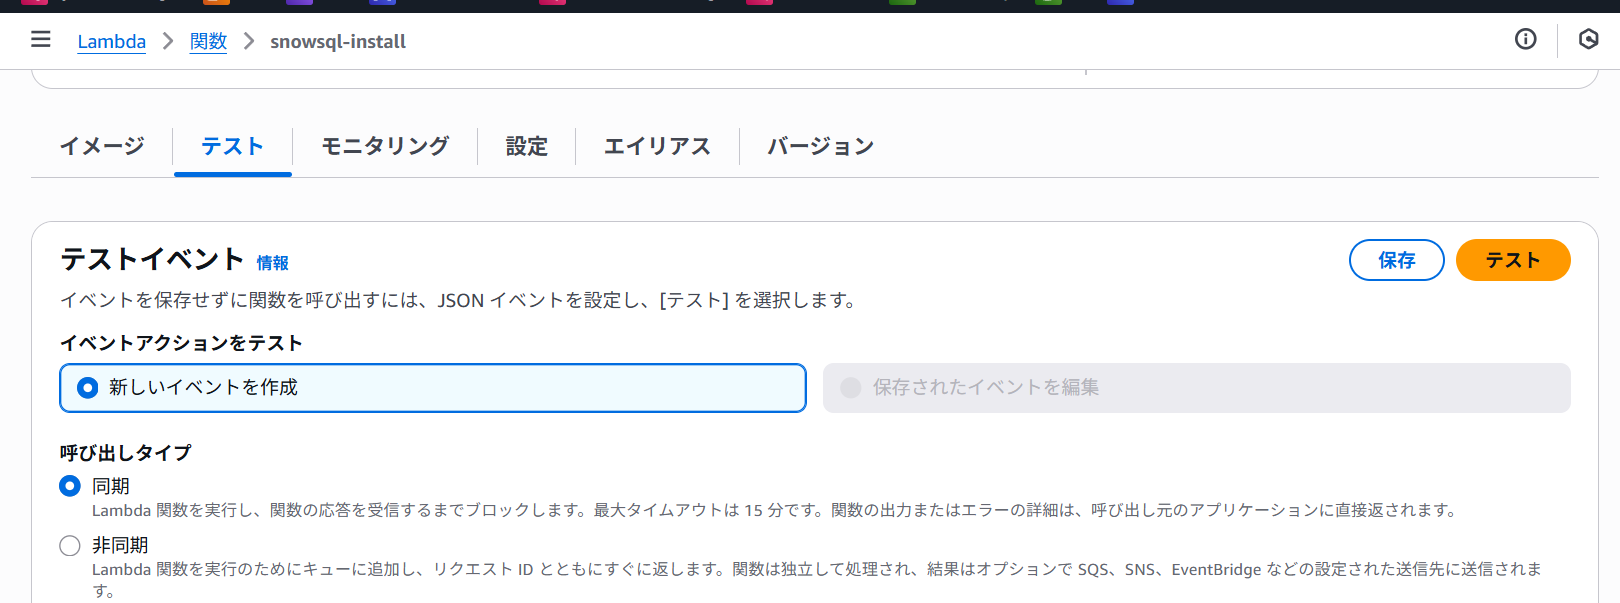
snowsqlのバージョンが出力されていれば実装成功です。

まとめ
以上がカスタムランタイム(コンテナ)でAWS CLIを動かす方法でした。今回はインストールまでの紹介でしたが、実際snowsqlコマンドを実行したい場合はバージョン出力の処理を変更してください。
RELATED ARTICLE関連記事
RELATED SERVICES関連サービス

Careersキャリア採用


この記事をシェアする