【コンテナ入門#1】Linux上でDocker(コンテナ)を作ってみた
2025.08.27
- AWS
- クラウド
- コンテナ技術
はじめに
本記事では、Linux(Amazon Linux 2)上にDockerをインストールし、Apache(httpd)を利用したWebサーバーをコンテナとして構築していきます。
また、オリジナルのDockerイメージを作成し、その中にHTMLファイルを配置し、EC2インスタンスのパブリックIPを使ってWebページへアクセスできるようにします。
手順を通じて学べるポイント
- Dockerの基本的な操作(インストール、イメージの取得、コンテナ起動)
- ApacheによるWebサーバーの構築
- Dockerfileを使った独自イメージの作成
- コンテナの再ビルド・再起動の方法
作業の流れ
これから行う作業は、大きく分けて以下のような流れで進めていきます。
- AWS上のEC2インスタンスでDockerの環境を構築
- ApacheをインストールしたWebサーバーコンテナを起動
- Dockerfileを使って独自のWebサーバー用イメージを作成
- イメージの再ビルドとコンテナの再起動で変更を反映
それでは、まず事前準備としてAWS上のリソースを作成していきます。
事前準備
以下のAWSリソースを事前に作成しました。
- VPC
- インターネットゲートウェイ
- ルートテーブル
- サブネット
- セキュリティグループ
- IAMロール
- EC2インスタンス(Amazon Linux 2)
手順
1.Dockerインストール
EC2インスタンスにTera TermでSSH接続し、Dockerをインストールします。
インストール完了後、動作確認のため docker version を実行します。
[ec2-user@ip-10-0-1-70 ~]$ sudo su -
[root@ip-10-0-1-70 ~]# yum install -y docker
Loaded plugins: extras_suggestions, langpacks, priorities, update-motd
Complete!
[root@ip-10-0-1-70 ~]# systemctl enable docker
Created symlink from /etc/systemd/system/multi-user.target.wants/docker.service to /usr/lib/systemd/system/docker.service.
[root@ip-10-0-1-70 ~]# systemctl start docker
[root@ip-10-0-1-70 ~]# systemctl status docker
● docker.service - Docker Application Container Engine
Loaded: loaded (/usr/lib/systemd/system/docker.service; enabled; vendor preset: disabled)
Active: active (running) since Fri 2025-07-04 00:42:39 UTC; 10s ago
[root@ip-10-0-1-70 ~]# docker run hello-world
Unable to find image 'hello-world:latest' locally
latest: Pulling from library/hello-worldStatus: Downloaded newer image for hello-world:latest
Hello from Docker!
This message shows that your installation appears to be working correctly.
dockerのインストールでは「Complete!」、「systemctl status docker」では「Active: active (running)」と表示されれば完了です。
2.コンテナイメージ取得
Amazon Linux 2の仮想的なマシンを立ち上げて、その中に入ってLinuxコマンドを使えるような状態にします。
[root@ip-10-0-1-70 ~]# docker images
REPOSITORY TAG IMAGE ID CREATED SIZE
hello-world latest 74cc54e27dc4 5 months ago 10.1kB[root@ip-10-0-1-70 ~]# docker pull amazonlinux:2
2: Pulling from library/amazonlinux
Status: Downloaded newer image for amazonlinux:2
docker.io/library/amazonlinux:2[root@ip-10-0-1-70 ~]# docker images
REPOSITORY TAG IMAGE ID CREATED SIZE
amazonlinux 2 ab2ca7286220 9 days ago 166MB
hello-world latest 74cc54e27dc4 5 months ago 10.1kB
「docker images」でコンテナイメージ「amazonlinux 2」が表示されれば完了です。
3.コンテナにApache(httpd)インストール
Dockerコンテナを使用して、Webサーバー(Apache)をLinux上に構築して、コンテナ内でWebページを用意し、自PCのブラウザからアクセスできるかを確認します。
3.1. Amazon Linux 2のイメージから「test01」というコンテナを作成し、ホストとWebサーバーが通信できるようにポート解放をします。
[root@ip-10-0-1-70 ~]# docker run -p 80:80 -it --name test01 amazonlinux:2 /bin/bash
3.2. コンテナ内にApache(httpd)をインストールし、Apache(httpd)を起動します。
bash-4.2# yum install -y httpd
Loaded plugins: ovl, priorities
amzn2-core | 3.6 kB 00:00
(1/3): amzn2-core/2/x86_64/group_gz | 2.7 kB 00:00
(2/3): amzn2-core/2/x86_64/updateinfo | 1.1 MB 00:00
(3/3): amzn2-core/2/x86_ 14% [== ] 0.0 B/s | 11 MB --:-- ETA (3/3): amzn2-core/2/x86_ 30% [====- ] 16 MB/s | 24 MB 00:03 ETA (3/3): amzn2-core/2/x86_ 79% [===========- ] 23 MB/s | 63 MB 00:00 ETA (3/3): amzn2-core/2/x86_64/primary_db | 77 MB 00:01
Resolving Dependencies
Complete!
ログの最後に「Complete!」と表示されれば起動完了です。
bash-4.2# /usr/sbin/httpd
AH00558: httpd: Could not reliably determine the server's fully qualified domain name, using 172.17.0.2. Set the 'ServerName' directive globally to suppress this message
Apache起動時のこの警告ですが、サーバーネームが未設定のための警告であり、動作には大きな支障はないためこのまま実行して問題ありません。
3.3. Webサーバーへブラウザからアクセス確認
自PCのブラウザからEC2インスタンスのパブリックIPアドレスを使用してアクセスします。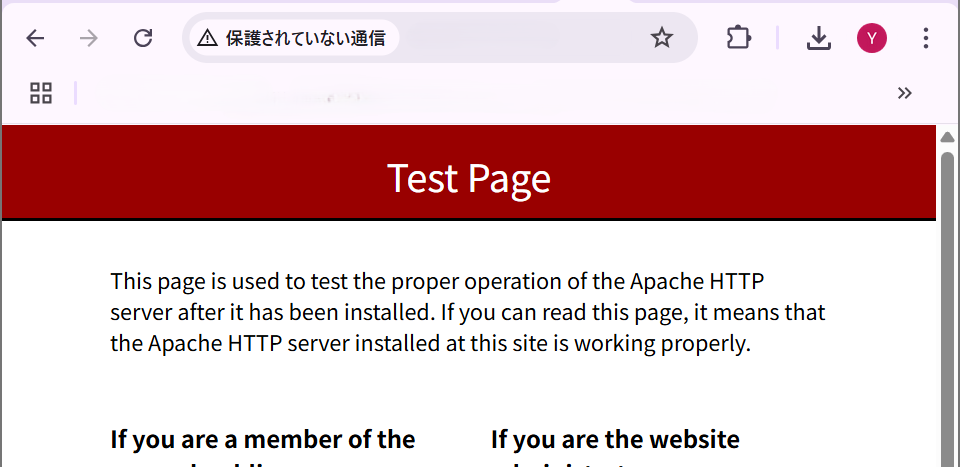
画像のようなTest Pageが表示されることを確認します。
4.HTMLファイルの作成
index.htmlにechoコマンドを利用して指定した文字列を標準出力で表示し、HTMLページが作成されるか確認します。
bash-4.2# echo username > /var/www/html/index.html
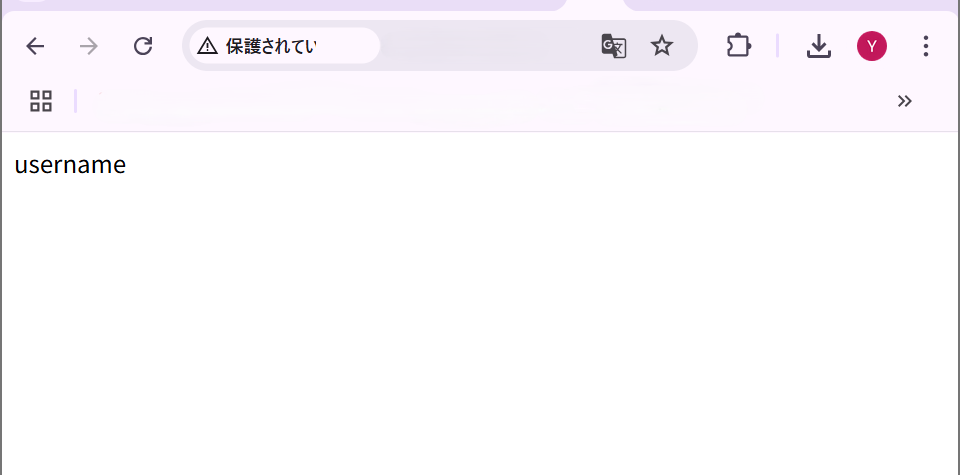
bash-4.2# echo username2025 > /var/www/html/index.html
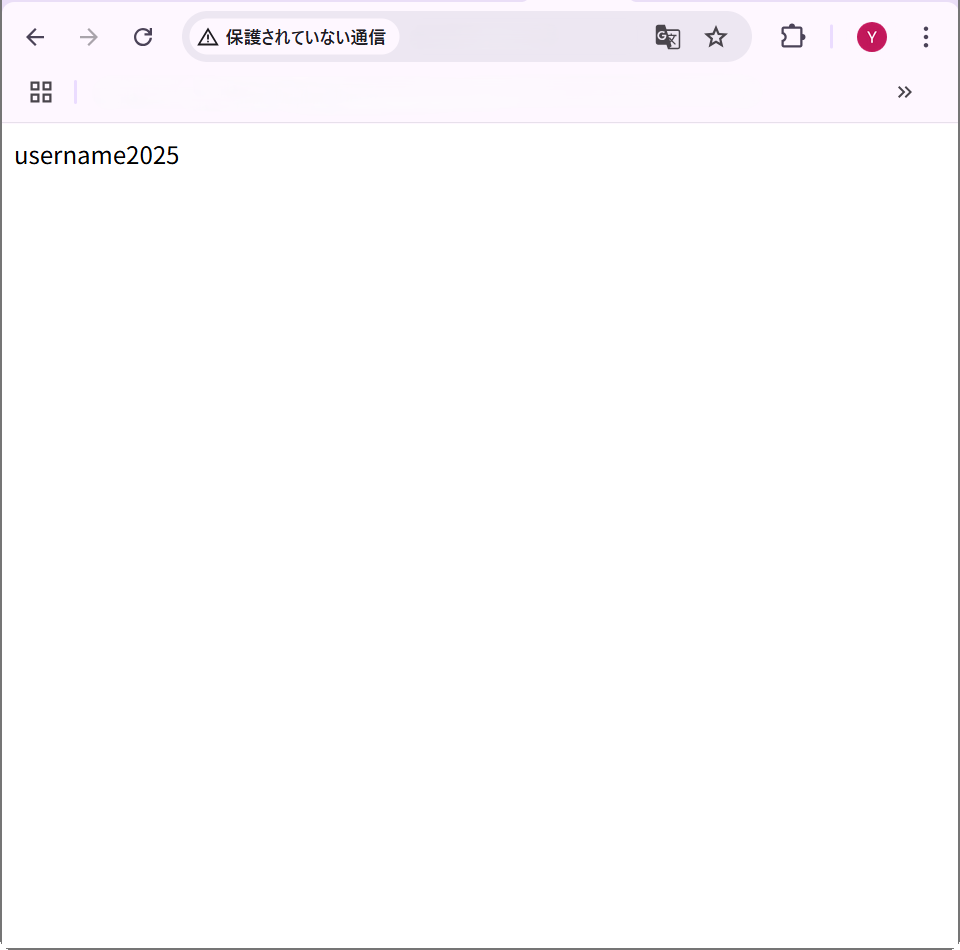
自PCのブラウザで再度EC2インスタンスのパブリックIPにアクセスし、画面上に username や username2025 といった文字が表示されれば、HTMLファイルが正しく作成・反映されたことが確認できます。
5.コンテナの状態確認
コンテナ内から抜けて、ホスト側でコンテナが起動終了していることを確認します。
bash-4.2# exit
exit
[root@ip-10-0-1-70 ~]# docker ps
CONTAINER ID IMAGE COMMAND CREATED STATUS PORTS NAMES
「docker ps」コマンドの際に、コンテナ名などがリストに表示されなければ、停止している(終了している)状態であることが確認できます。
6.Dockerファイルを使ってみる
Apache入りのオリジナルWebサーバ用DockerイメージをDockerfileで自作します。
6.1. DockerfileやHTMLファイルなどを置く「dockerfile」という作業ディレクトリを作成し、そのディレクトリに移動します。
[root@ip-10-0-1-70 ~]# mkdir dockerfile
[root@ip-10-0-1-70 ~]# cd dockerfile/
6.2. 「Dockerfile」を作成します。
[root@ip-10-0-1-70 dockerfile]# vi Dockerfile
FROM amazonlinux:2
RUN yum install -y httpd
COPY ./index.html /var/www/html/index.html
EXPOSE 80
CMD ["/usr/sbin/httpd","-D","FOREGROUND"]
6.3. 「index.html」を作成します。このファイルは実際に表示されるWebページの内容になります。
[root@ip-10-0-1-70 dockerfile]# vi index.html
username dockerfile
7.Dockerfileを使ってコンテナイメージを作成
「training2025-username」というイメージ名でWebサーバー用イメージを作成します。
[root@ip-10-0-1-70 dockerfile]# docker build -t training2025-username .
[+] Building 16.4s (8/8) FINISHED docker:default
=> [internal] load build definition from Dockerfile 0.0s
=> => transferring dockerfile: 179B 0.0s
=> [internal] load metadata for docker.io/library/amazonlinux:2 0.0s
=> [internal] load .dockerignore 0.0s
=> => transferring context: 2B 0.0s
=> [1/3] FROM docker.io/library/amazonlinux:2 0.0s
=> [internal] load build context 0.1s
=> => transferring context: 58B 0.0s
=> [2/3] RUN yum install -y httpd 13.5s
=> [3/3] COPY ./index.html /var/www/html/index.html 0.0s
=> exporting to image 2.8s
=> => exporting layers 2.8s
=> => writing image sha256:64a84ea6f287933baa4e9bf7b8456cadc33b49fd99 0.0s
=> => naming to docker.io/library/training2025-username 0.0s
8.コンテナを起動する
先ほど作成した「training2025-username」というDockerイメージからApache Web サーバーを起動して、EC2の80 番ポート経由でWeb アクセスできるようにします。
8.1. 「training2025-username」というイメージがあることを確認し、コンテナを起動します。
[root@ip-10-0-1-70 dockerfile]# docker images
REPOSITORY TAG IMAGE ID CREATED SIZE
training2025-username latest 64a84ea6f287 10 seconds ago 651MB
amazonlinux 2 ab2ca7286220 9 days ago 166MB
hello-world latest 74cc54e27dc4 5 months ago 10.1kB[root@ip-10-0-1-70 dockerfile]# docker run -d -p 80:80 --name training2025-username training2025-username
fab0464928f7c4a8bcf71bcb6917dbc20f22be4d3a74fb6e3f05d169d4c9a276
8.2. 自PCのブラウザからEC2インスタンスのパブリックIPアドレスを使用してアクセスします。
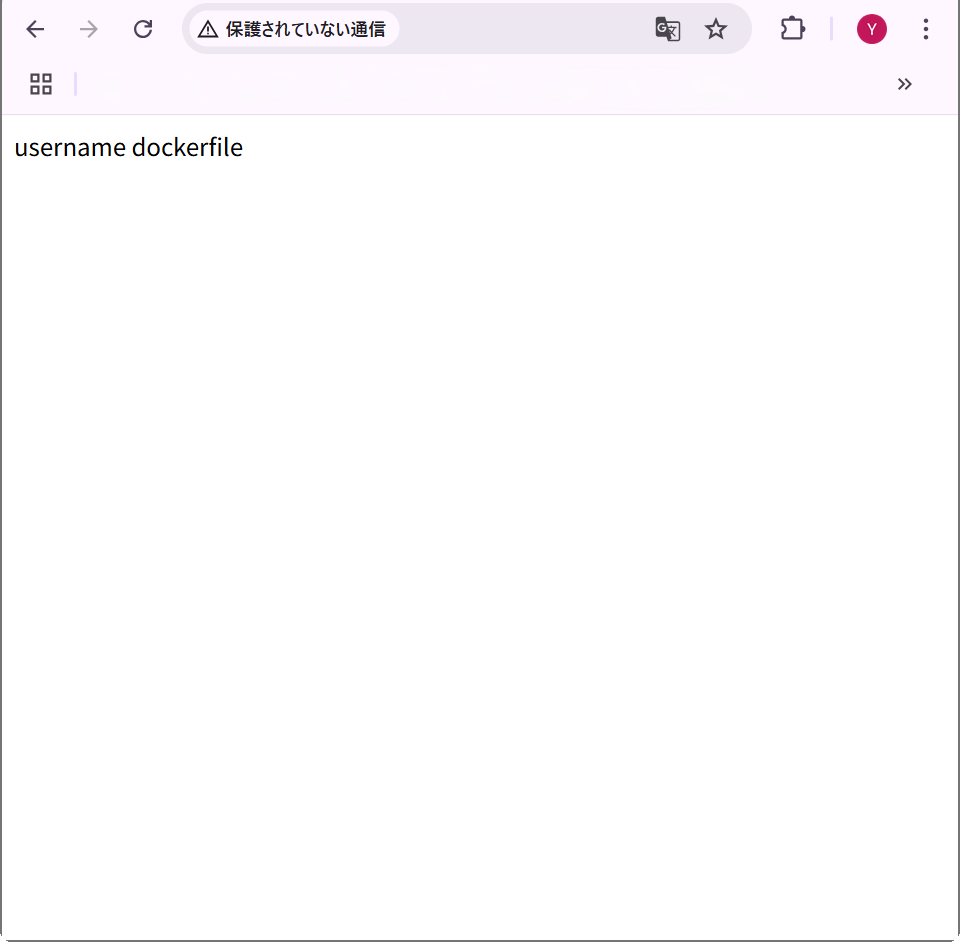
「username dockerfile」と表示されていれば、Dockerfile で作成したオリジナルイメージが正常に動作していることが確認できます。
8.3. 「index.html」の内容を変更して、再度コンテナイメージを作成します。(上書き)
[root@ip-10-0-1-70 dockerfile]# echo username2025 dockerfile > index.html
[root@ip-10-0-1-70 dockerfile]# cat -n index.html
1 username2025 dockerfile
[root@ip-10-0-1-70 dockerfile]# docker build -t training2025-username .
[+] Building 0.1s (8/8) FINISHED docker:default
=> [internal] load build definition from Dockerfile 0.0s
=> => transferring dockerfile: 179B 0.0s
=> [internal] load metadata for docker.io/library/amazonlinux:2 0.0s
=> [internal] load .dockerignore 0.0s
=> => transferring context: 2B 0.0s
=> [1/3] FROM docker.io/library/amazonlinux:2 0.0s
=> [internal] load build context 0.0s
=> => transferring context: 61B 0.0s
=> CACHED [2/3] RUN yum install -y httpd 0.0s
=> [3/3] COPY ./index.html /var/www/html/index.html 0.0s
=> exporting to image 0.0s
=> => exporting layers 0.0s
=> => writing image sha256:3fd23e77ba7b41261995f4b6839acfbb03d33323c3 0.0s
=> => naming to docker.io/library/training2025-username 0.0s
9.コンテナの停止/起動
上書き前のコンテナを停止し、新しく変更したイメージから再度Webサーバーを起動します。
9.1. コンテナの状態を確認し、上書き前のコンテナが起動していることを確認します。
[root@ip-10-0-1-70 dockerfile]# docker ps
CONTAINER ID IMAGE COMMAND CREATED STATUS PORTS NAMES
fab0464928f7 64a84ea6f287 "/usr/sbin/httpd -D ..." About a minute ago Up About a minute 0.0.0.0:80->80/tcp, :::80->80/tcp training2025-username
9.2. コンテナを停止し、停止したコンテナを削除します。
[root@ip-10-0-1-70 dockerfile]# docker stop training2025-username
training2025-username
[root@ip-10-0-1-70 dockerfile]# docker rm training2025-username
9.3. 新しくコンテナを起動し、自PCのブラウザからEC2インスタンスのパブリックIPアドレスを使用してアクセスします。
[root@ip-10-0-1-70 dockerfile]# docker run -d -p 80:80 --name training2025-username training2025-username
5819668530b2f9ca95604402ed7e3a8f79e2c0a20a4a1a13aac56dd78d13a96d
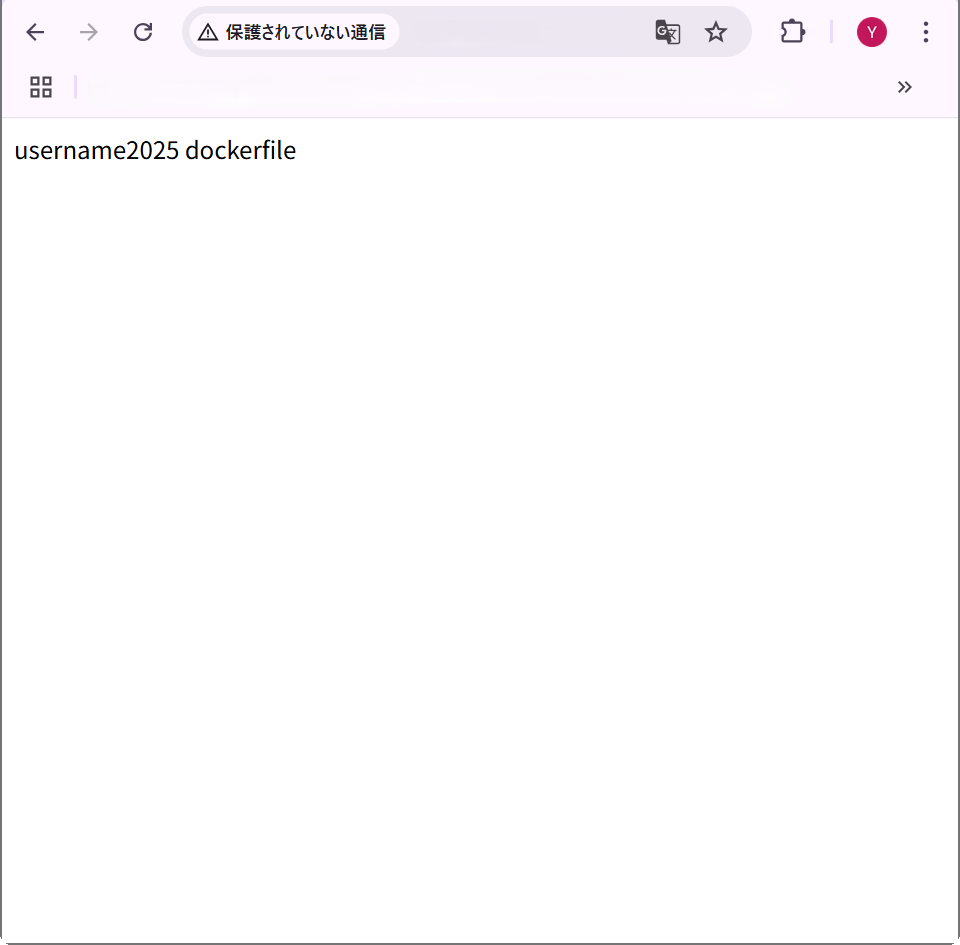
username2025 dockerfile という文字列が表示されていれば、再ビルドした内容が正しく反映されていることが確認できます。
最後に
今回は、Docker上にApache Webサーバーを構築し、HTMLファイルを含んだオリジナルイメージを作成・再構築するところまでを一通り行いました。
次回の【コンテナ入門#2】では、Fargateを利用したAWS ECSでのコンテナ稼働について記載していますので、是非そちらもご覧ください。
RELATED ARTICLE関連記事
RELATED SERVICES関連サービス

Careersキャリア採用


この記事をシェアする